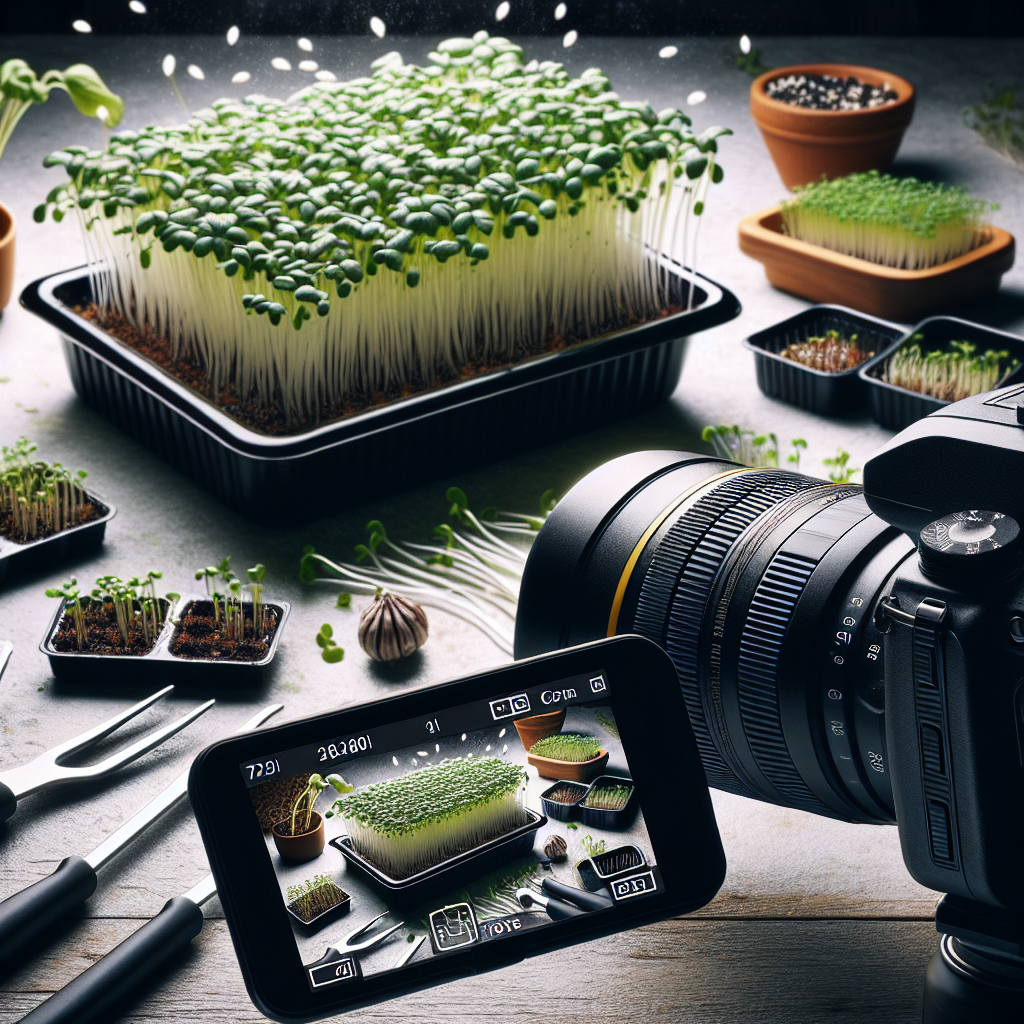
How to grow microgreens at home using simple kitchen tools and trays.

Step-by-Step Guide to Growing Microgreens at Home with Basic Kitchen Tools
Growing microgreens at home is an increasingly popular endeavor, offering a sustainable and nutritious addition to your diet. With their rich flavors and high nutrient content, microgreens are a delightful way to enhance your meals. Fortunately, cultivating these tiny greens does not require sophisticated equipment or extensive gardening experience. By utilizing simple kitchen tools and trays, you can successfully grow microgreens in the comfort of your home. This guide will walk you through the process, ensuring a seamless transition from preparation to harvest.
To begin, gather the necessary materials. You will need seeds, a shallow tray or container, potting soil or a growing medium, and a spray bottle for watering. Many kitchen items can serve as suitable trays, such as baking dishes, takeout containers, or even repurposed plastic containers. Ensure that your chosen tray has drainage holes or create them by carefully puncturing the bottom. This step is crucial to prevent waterlogging, which can lead to mold growth and root rot.
Once you have your materials ready, the next step is to prepare the growing medium. Fill your tray with potting soil or a suitable alternative, such as coconut coir or vermiculite, to a depth of about one to two inches. Smooth the surface to create an even layer, which will facilitate uniform seed distribution. It is important to moisten the soil before sowing the seeds, as this will help them adhere to the surface and promote germination.
With the growing medium prepared, it is time to sow the seeds. Choose seeds specifically labeled for microgreens, as they are optimized for this purpose. Popular choices include radish, broccoli, sunflower, and pea shoots. Scatter the seeds evenly across the surface of the soil, ensuring they are not too densely packed. A general guideline is to cover the soil with a single layer of seeds, allowing enough space for each seed to sprout and grow without overcrowding.
After sowing the seeds, gently press them into the soil to ensure good contact. This can be done using a flat object, such as a small cutting board or the bottom of a glass. Following this, lightly mist the surface with water using a spray bottle. It is essential to maintain consistent moisture levels, so check the soil daily and mist as needed to keep it damp but not waterlogged.
To create an optimal environment for germination, cover the tray with a clear plastic lid or plastic wrap. This will help retain moisture and warmth, accelerating the germination process. Place the tray in a location with indirect sunlight or under grow lights, as direct sunlight can be too intense for young seedlings. Within a few days, you should notice the seeds beginning to sprout.
As the microgreens grow, remove the cover and continue to provide adequate light and moisture. Rotate the tray periodically to ensure even growth and prevent the seedlings from leaning towards the light source. Most microgreens are ready to harvest within one to three weeks, depending on the variety. Harvest by cutting the stems just above the soil line using scissors or a sharp knife.
In conclusion, growing microgreens at home is a straightforward and rewarding process that requires minimal equipment and effort. By following these steps and utilizing basic kitchen tools and trays, you can enjoy a fresh supply of nutritious greens year-round. This endeavor not only enhances your culinary creations but also contributes to a more sustainable lifestyle.
Essential Kitchen Tools for Cultivating Microgreens Indoors
Growing microgreens at home has become an increasingly popular endeavor for those seeking fresh, nutritious greens year-round. These tiny plants, harvested just after the first leaves develop, are packed with nutrients and can be grown with minimal space and effort. To successfully cultivate microgreens indoors, it is essential to have the right kitchen tools and trays. By utilizing simple items commonly found in most kitchens, you can create an efficient and productive microgreen-growing setup.
To begin with, selecting the appropriate trays is crucial. Shallow trays, such as baking sheets or repurposed plastic containers, are ideal for growing microgreens. These trays should be approximately one to two inches deep to allow for adequate root development while ensuring easy access to light and air. It is important to ensure that the trays have drainage holes to prevent waterlogging, which can lead to mold growth and root rot. If the trays do not have pre-existing holes, a simple kitchen tool like a sharp knife or a pair of scissors can be used to create them.
Once the trays are prepared, the next step involves choosing a suitable growing medium. While soil is a common choice, many home growers opt for alternatives such as coconut coir or vermiculite, which are lightweight and provide excellent drainage. These mediums can be easily spread across the tray using a spatula or a spoon, ensuring an even layer that is approximately half an inch thick. This layer will serve as the foundation for the microgreens, providing the necessary support and nutrients for their growth.
After preparing the growing medium, it is time to sow the seeds. A small sieve or a spice shaker can be employed to evenly distribute the seeds across the surface of the medium. This ensures that the seeds are not overcrowded, which can hinder their growth. Once the seeds are in place, a gentle misting with a spray bottle will help to settle them into the medium without displacing them. It is important to maintain consistent moisture levels, as microgreens require a humid environment to thrive.
Lighting is another critical factor in the successful cultivation of microgreens. While natural sunlight is ideal, it is not always available, especially during the winter months. In such cases, a simple desk lamp with an LED or fluorescent bulb can provide the necessary light. Positioning the lamp approximately six inches above the trays will ensure that the microgreens receive adequate illumination. It is advisable to keep the light on for 12 to 16 hours a day to mimic natural daylight conditions.
Finally, monitoring the growth of the microgreens is essential to ensure a healthy harvest. A kitchen timer can be set to remind you to check the moisture levels and adjust the lighting as needed. Within one to two weeks, the microgreens will be ready for harvest. A pair of kitchen scissors can be used to snip the greens just above the soil line, allowing for a clean cut and minimal disturbance to the remaining plants.
In conclusion, growing microgreens at home is a rewarding and straightforward process that can be accomplished with basic kitchen tools and trays. By carefully selecting and utilizing these items, you can create an efficient indoor garden that provides fresh, nutritious greens throughout the year. With a little patience and attention to detail, anyone can enjoy the benefits of homegrown microgreens.
DIY Microgreens: Using Trays and Simple Tools for Home Gardening
Growing microgreens at home has become an increasingly popular trend among gardening enthusiasts and health-conscious individuals alike. These tiny, nutrient-packed greens are not only easy to cultivate but also add a burst of flavor and color to a variety of dishes. Fortunately, you don’t need a large garden or expensive equipment to start growing microgreens. With just a few simple kitchen tools and trays, you can embark on this rewarding journey of home gardening.
To begin with, selecting the right seeds is crucial for successful microgreen cultivation. Popular choices include radish, broccoli, sunflower, and pea shoots, each offering unique flavors and nutritional benefits. Once you have chosen your seeds, the next step is to gather the necessary materials. You will need shallow trays, which can be repurposed from old baking trays or purchased specifically for this purpose. Additionally, a spray bottle, potting soil, and a small sieve or colander will be essential tools in your microgreen-growing arsenal.
The process of growing microgreens starts with preparing the trays. Begin by filling each tray with a layer of potting soil, ensuring it is evenly spread and lightly compacted. The soil should be moistened slightly, but not waterlogged, to create an ideal environment for seed germination. Once the soil is ready, use the sieve to evenly distribute the seeds over the surface. It is important to avoid overcrowding, as this can lead to poor air circulation and increased risk of mold growth.
After sowing the seeds, gently press them into the soil using your fingers or a flat object, ensuring good seed-to-soil contact. This step is crucial for successful germination. Following this, cover the seeds with a thin layer of soil, just enough to protect them while allowing light to penetrate. At this stage, using the spray bottle, mist the surface lightly to maintain moisture without disturbing the seeds.
As the seeds begin to germinate, typically within a few days, it is important to monitor the moisture levels closely. Microgreens require consistent moisture, so regular misting is necessary. However, be cautious not to overwater, as excessive moisture can lead to mold development. Placing the trays in a well-lit area, such as a windowsill, will ensure the seedlings receive adequate light for healthy growth. If natural light is insufficient, consider using a grow light to supplement their needs.
Throughout the growing process, maintaining proper air circulation is vital. This can be achieved by gently fanning the trays or using a small fan to prevent stagnant air, which can contribute to mold issues. Within one to three weeks, depending on the variety, your microgreens will be ready for harvest. The ideal time to harvest is when the first true leaves appear, as this is when they are most flavorful and nutritious.
To harvest, use a pair of sharp scissors to cut the microgreens just above the soil line. Rinse them gently under cool water to remove any soil particles, and they are ready to be enjoyed. Whether added to salads, sandwiches, or smoothies, these homegrown microgreens will undoubtedly enhance your culinary creations.
In conclusion, growing microgreens at home using simple kitchen tools and trays is an accessible and rewarding endeavor. By following these steps and maintaining a consistent care routine, you can enjoy a continuous supply of fresh, nutritious greens right from your own kitchen. This not only contributes to a healthier lifestyle but also fosters a deeper connection with the food you consume.